Shelly Bluetooth Gateway Gen3 Installation Guide
Prerequisites
Before you start, make sure you have:
- Shelly Smart Control app installed on your mobile device.
- An active account in the Shelly Cloud.
- Bluetooth connectivity enabled on your mobile device.
Installation Steps
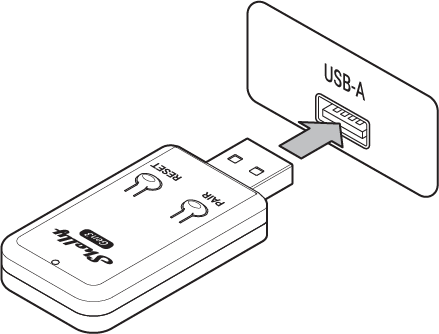
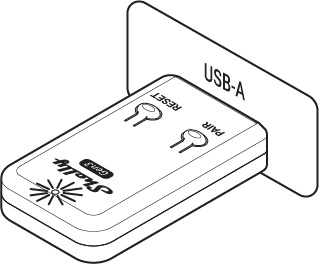
Power up the Gateway by plugging it into a standard USB Type A port. The LED indicator lights up in blue, showing that the device is in Access Point mode.
Open the Shelly Smart Control app on your mobile device.
Tap the + icon at the lower-right corner of the screen.
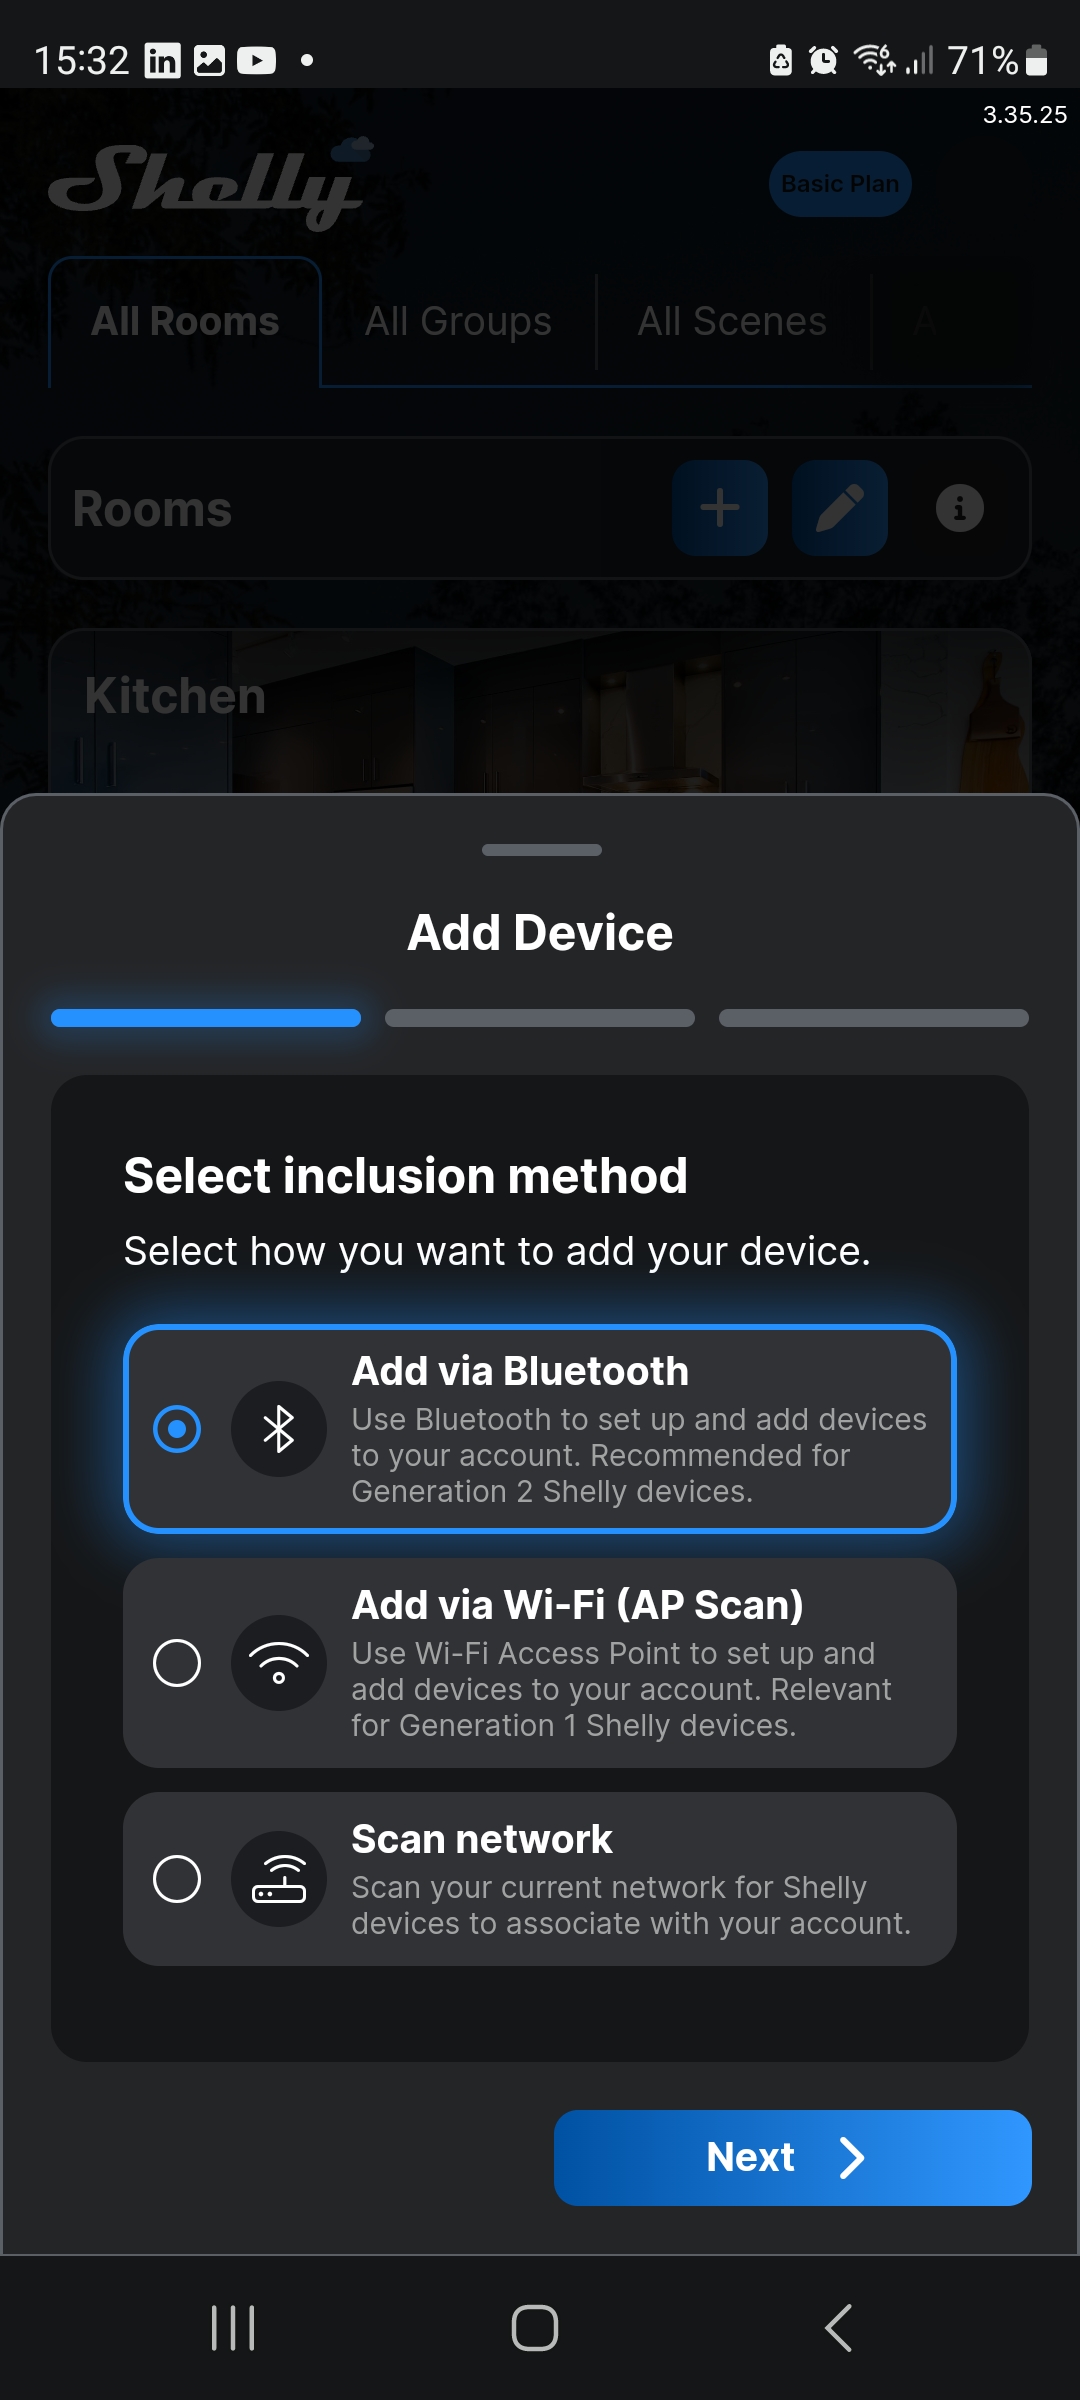
Select Add via Bluetooth, then tap Next.
Select Shelly Bluetooth Gateway Gen3, then tap Next.
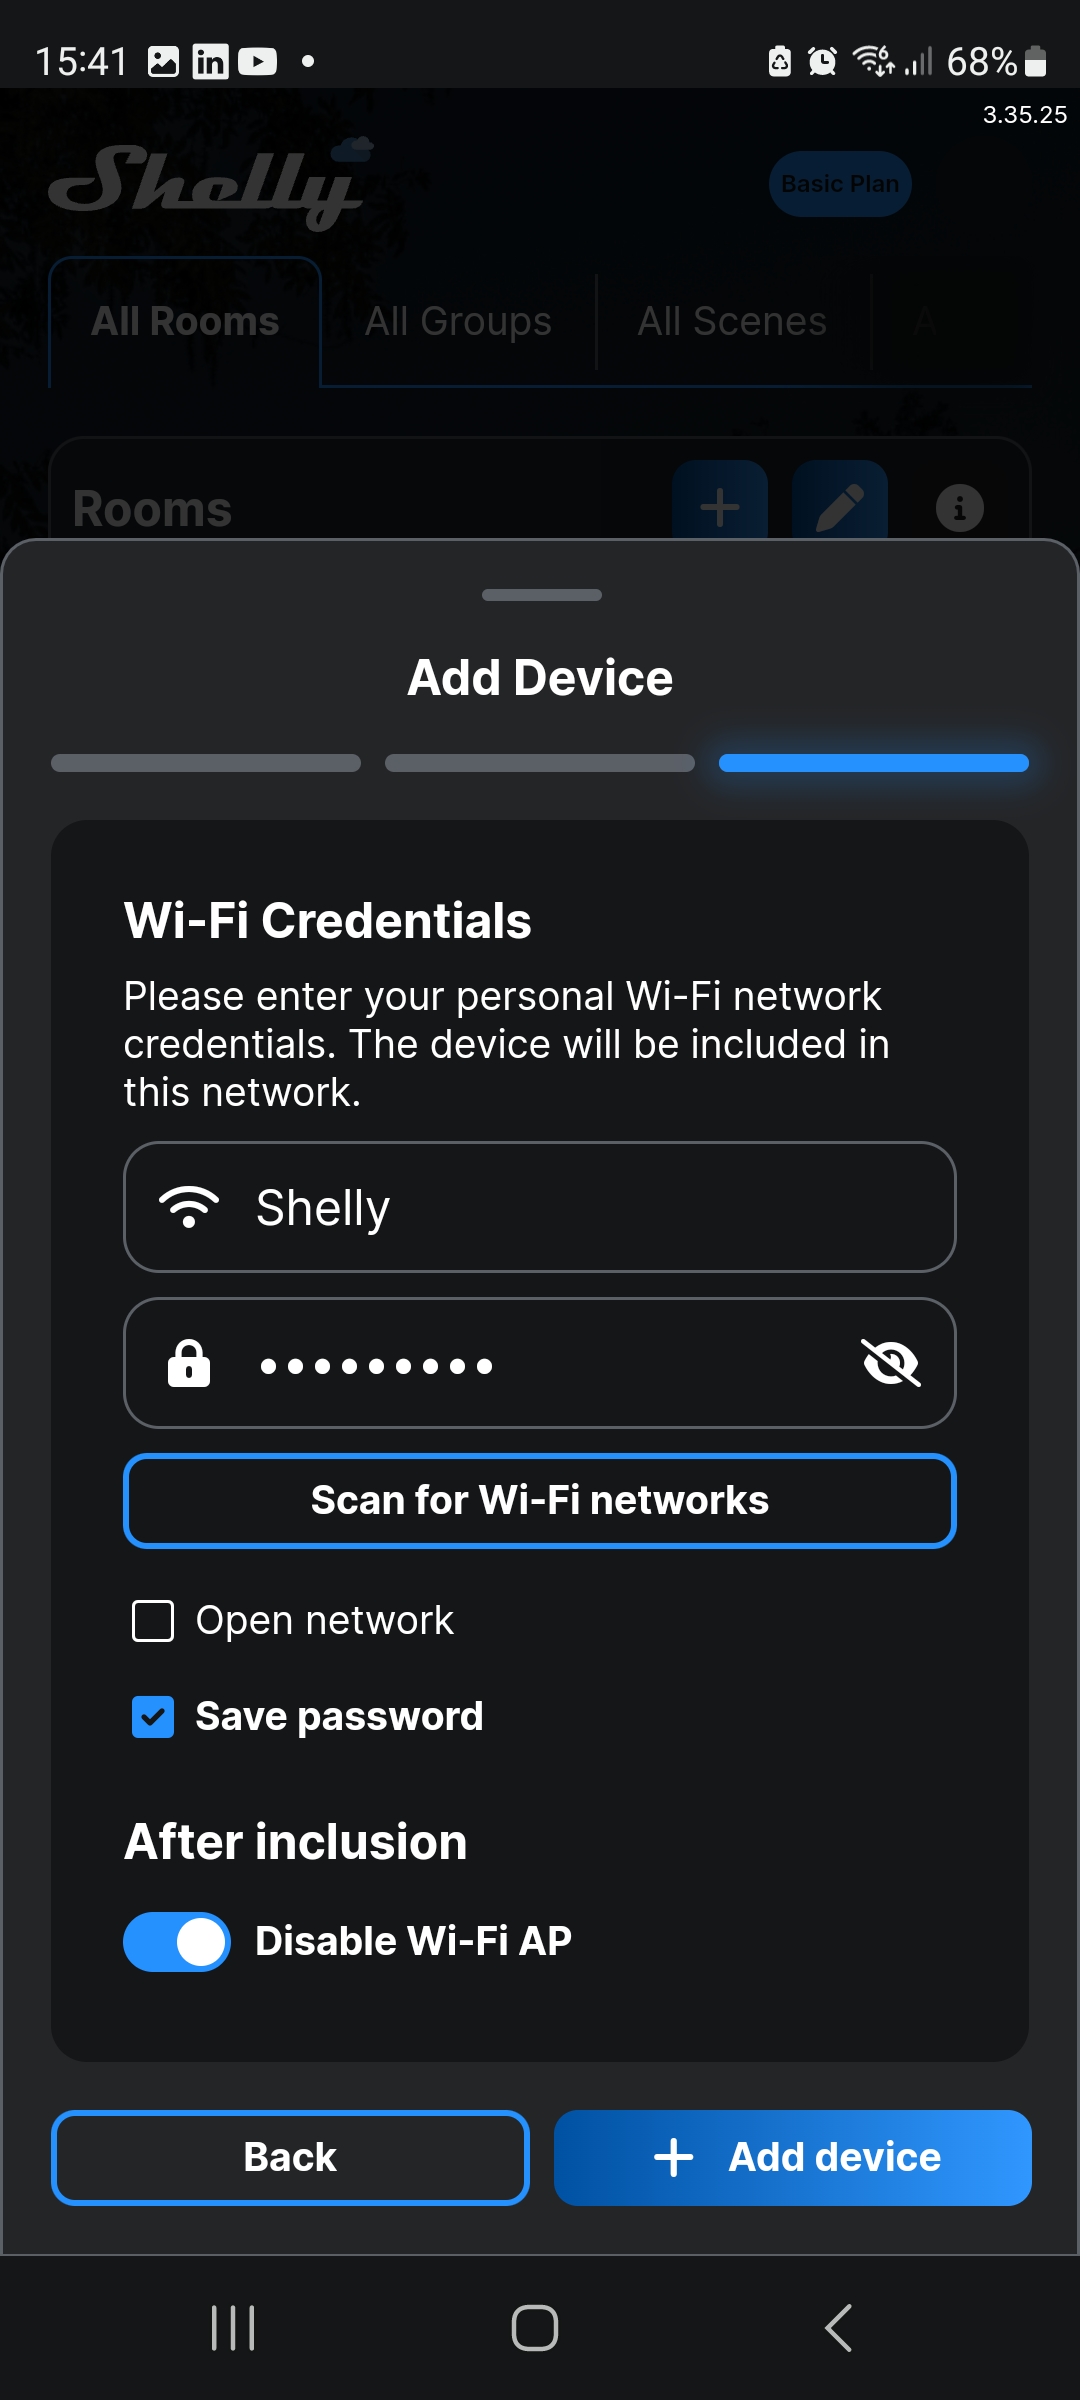
Choose the Wi-Fi network to connect the Gateway to, then tap + Add device.
Note:
The LED indicator will turn red, indicating that the device is connecting to the Shelly Cloud.
If you’ve previously added devices and saved the network password, a prompt will appear asking whether you want to connect the new device to the same Wi-Fi network. To change the network, select Edit.
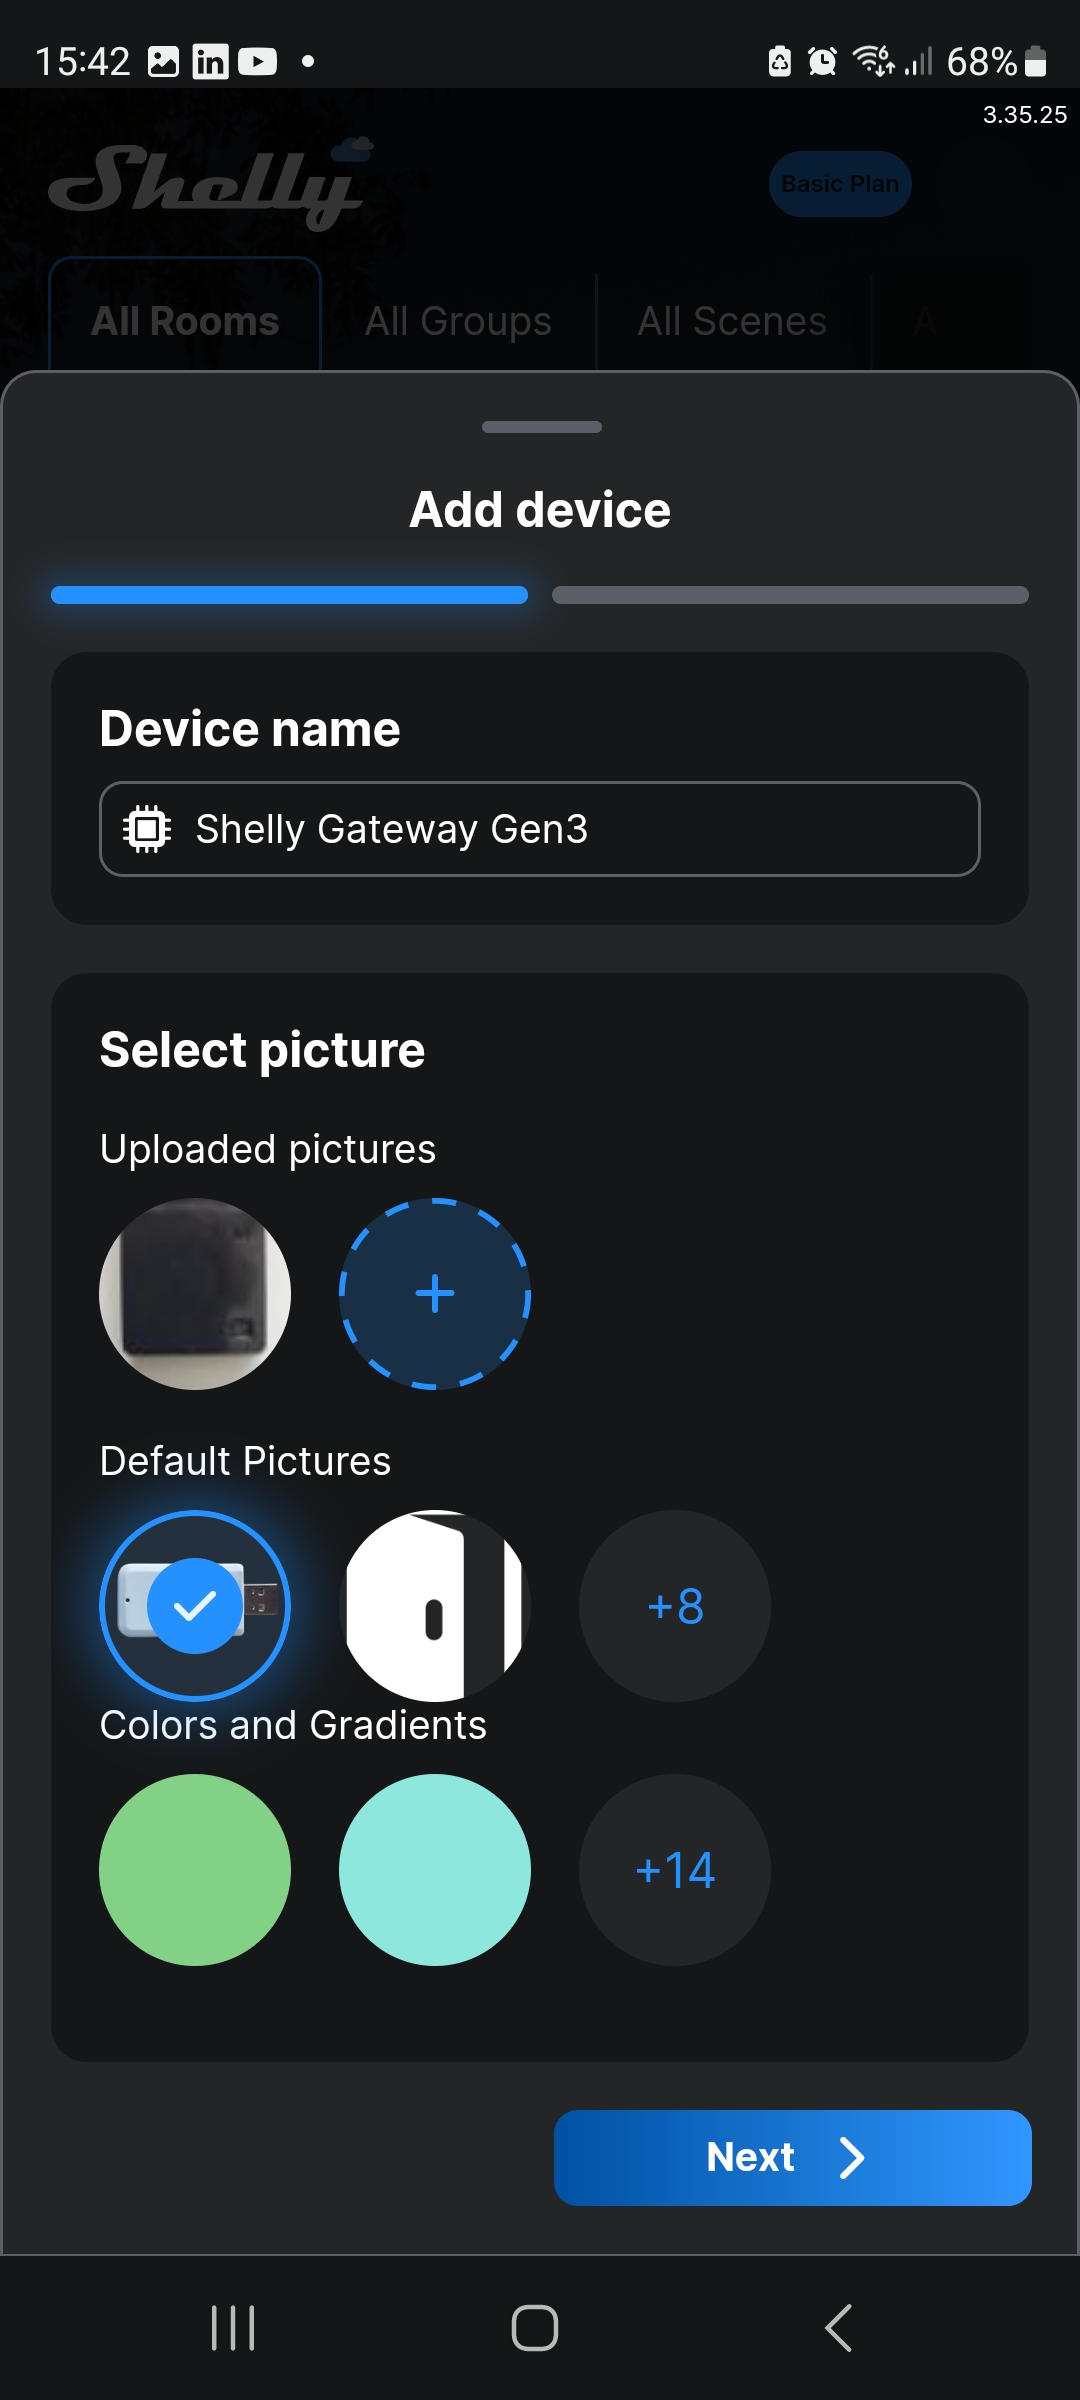
Name the device and choose a picture. Then tap Next.
Add the Gateway to a room of your preference. Alternatively, create a new room and then tap Save.
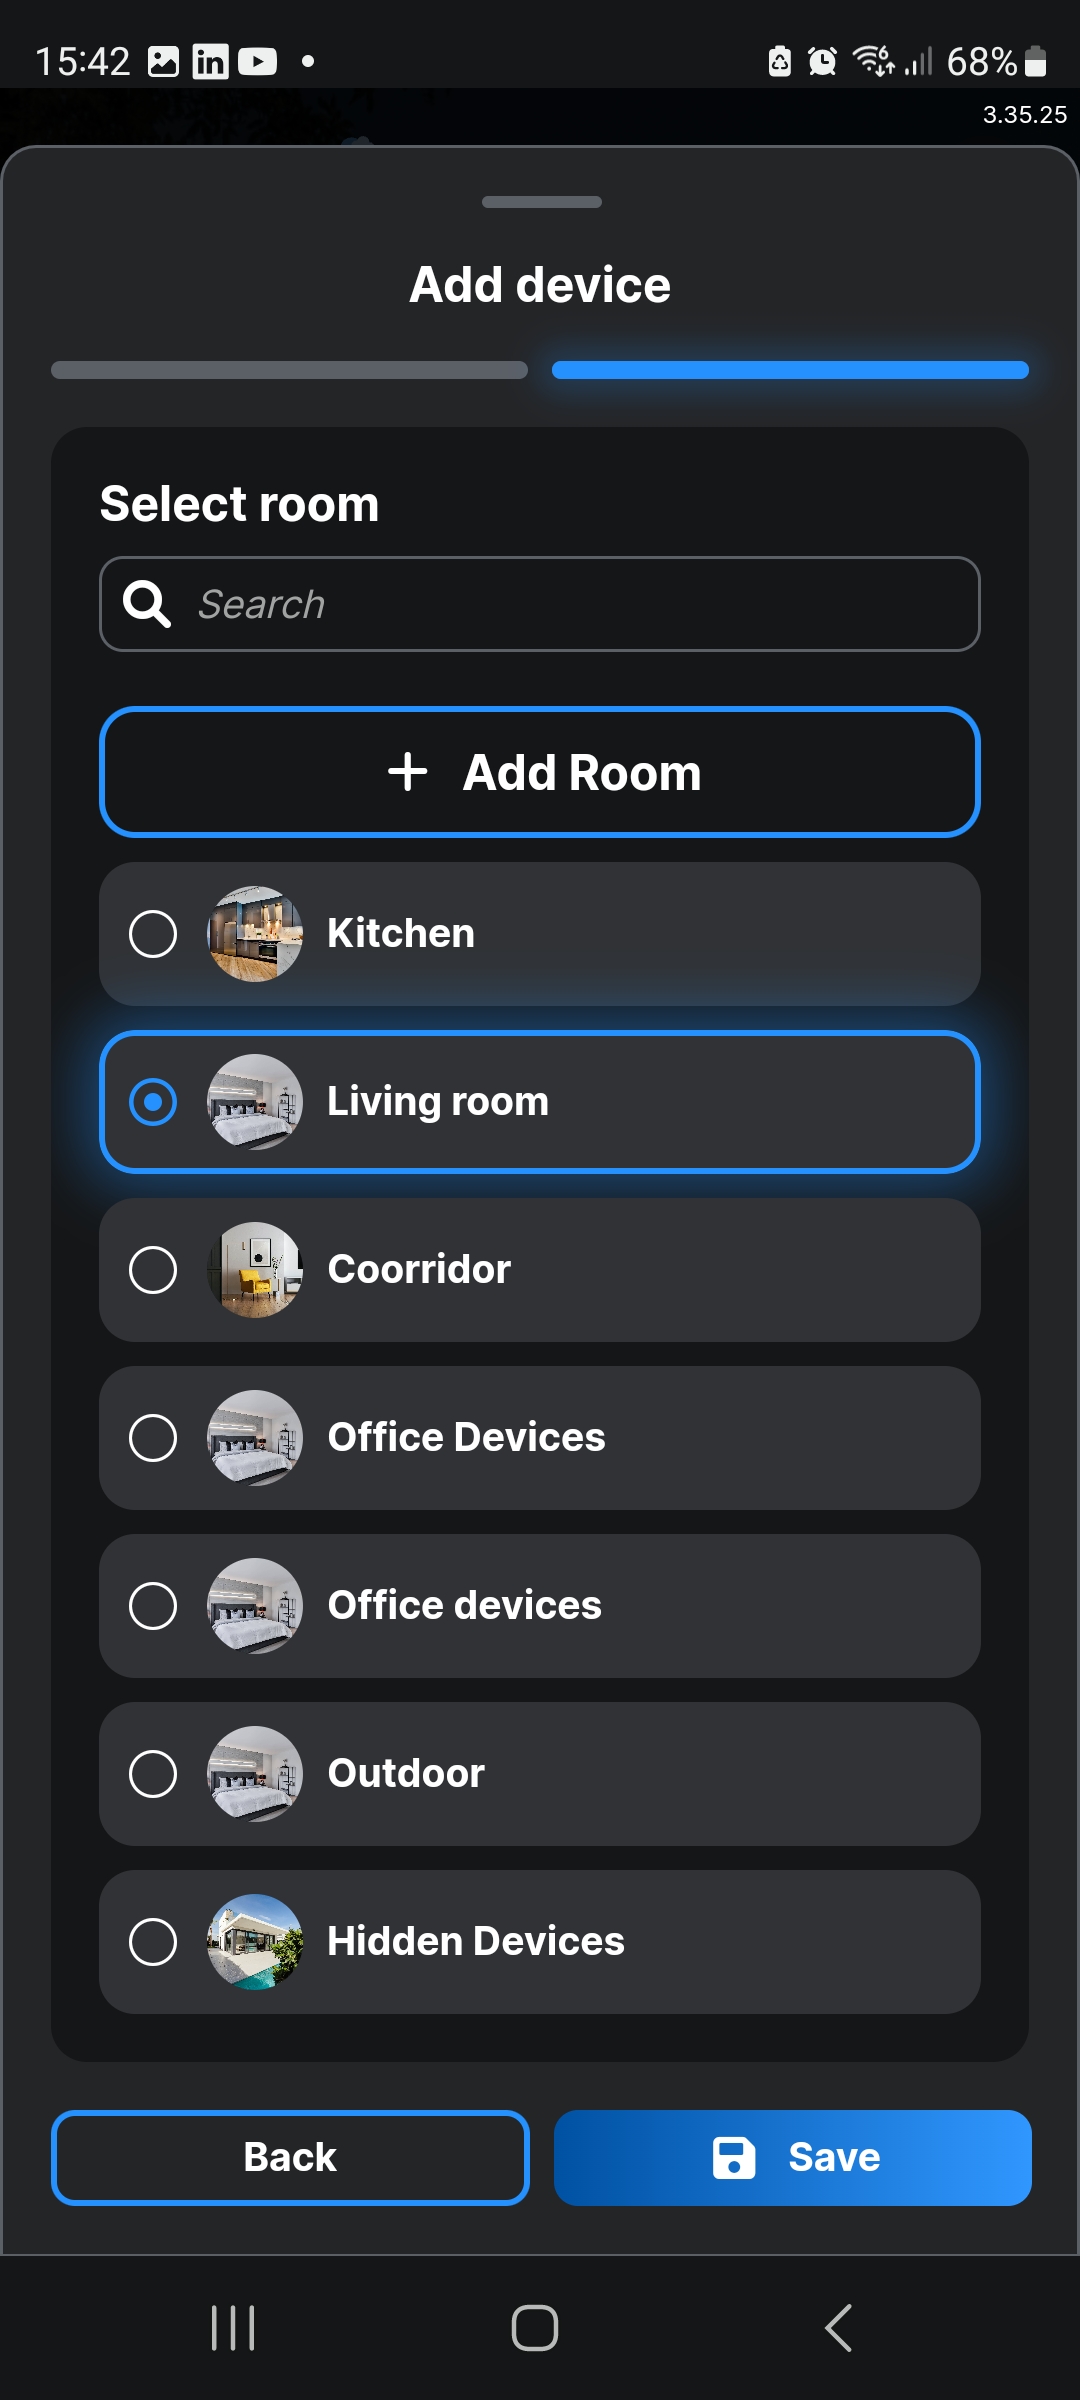
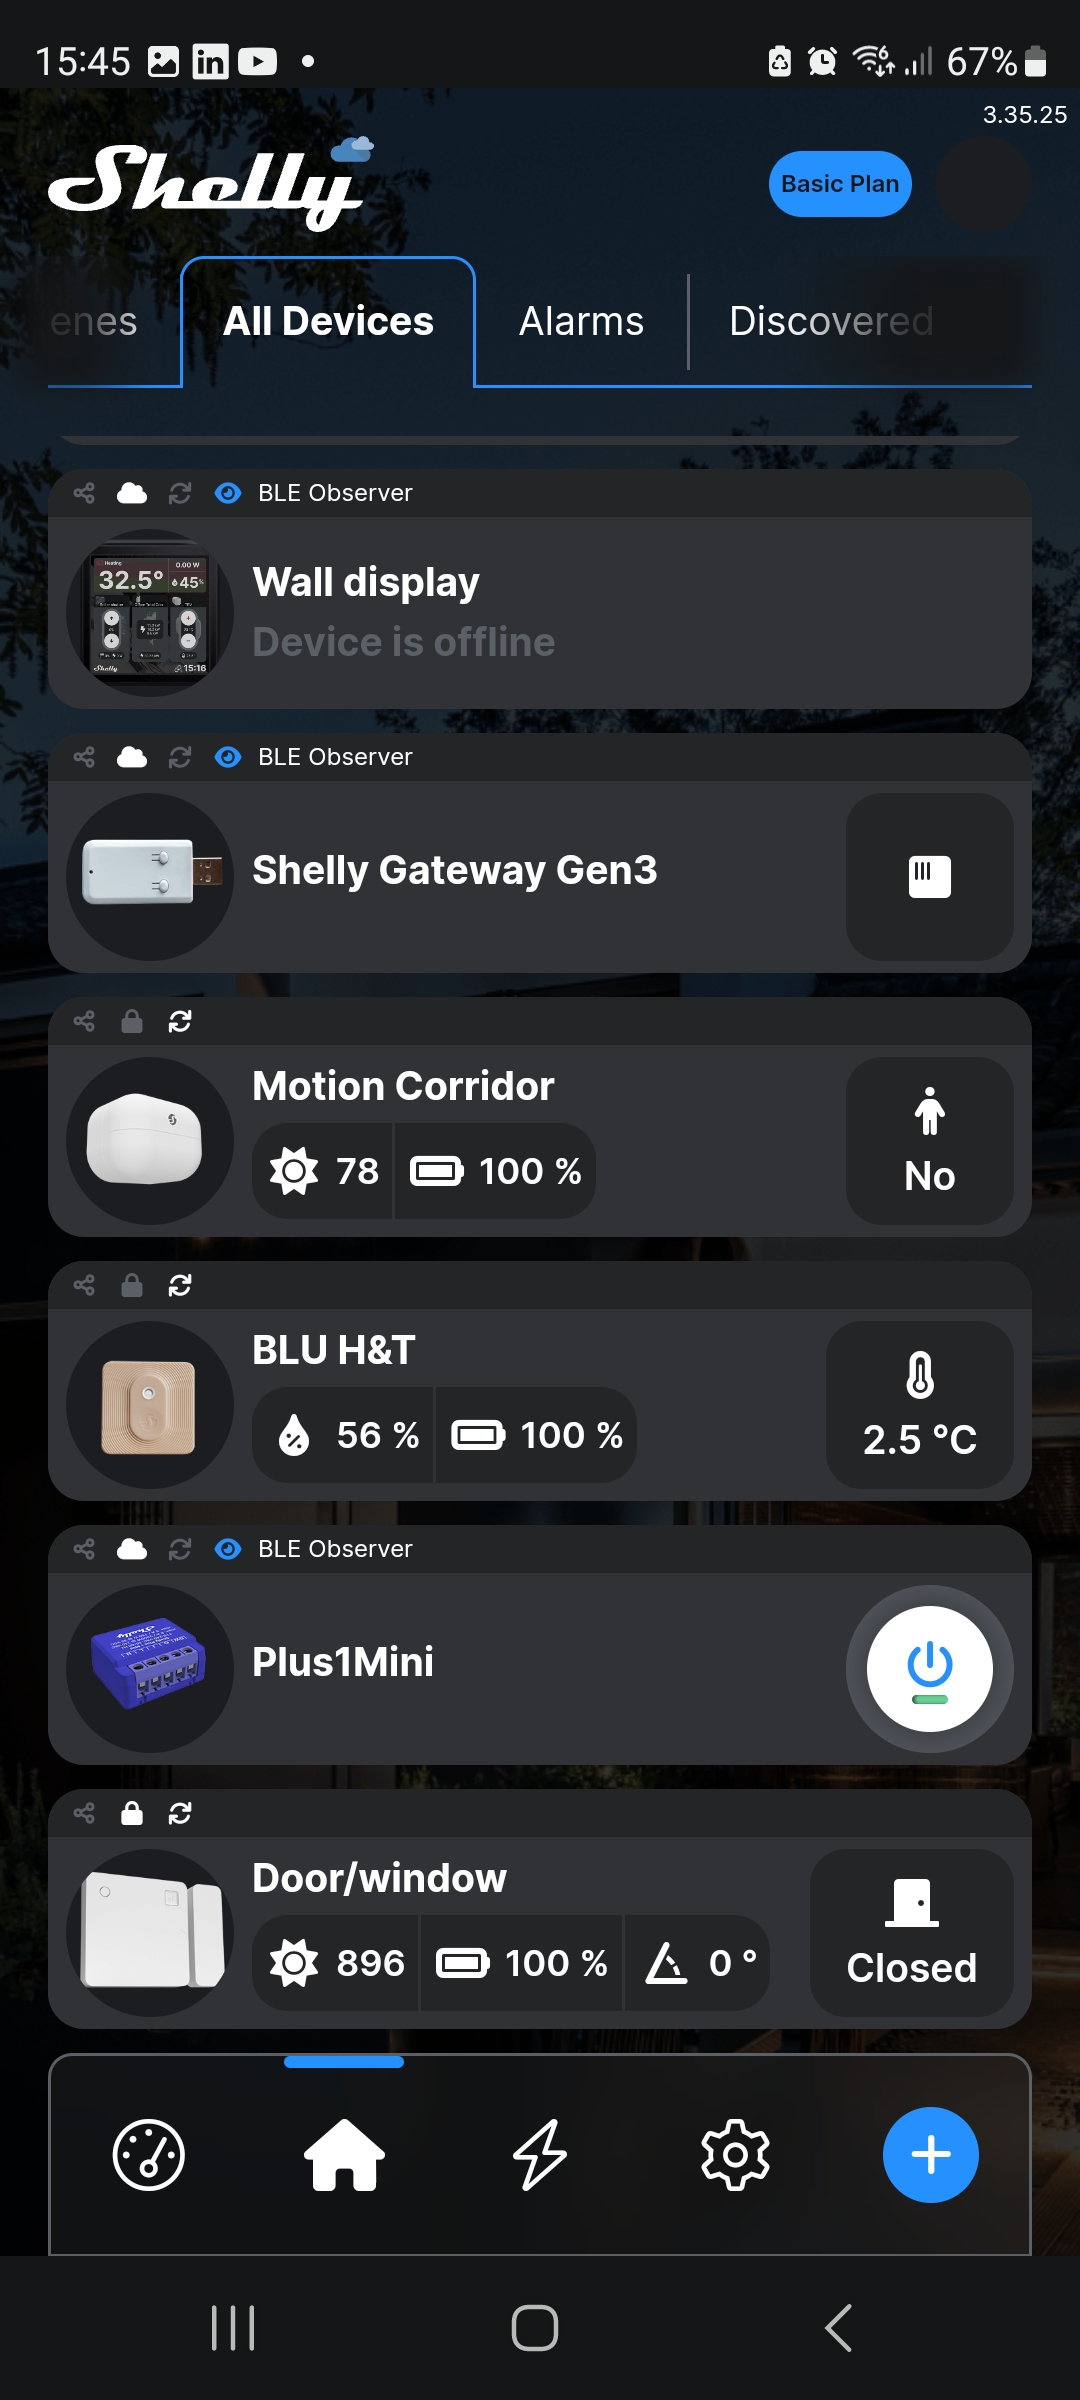
✅ The device is now successfully added to your account.
Important Notes
- The distance between the Gateway and your router should be less than 30 m.
- The Gateway requires at least 500 mA to operate.
- The Gateway works only with 2.4 GHz Wi-Fi networks.